
CardMaker Tutorial: Basic: Working with the Application
This is a crash course tutorial on the basic functionality of the application.
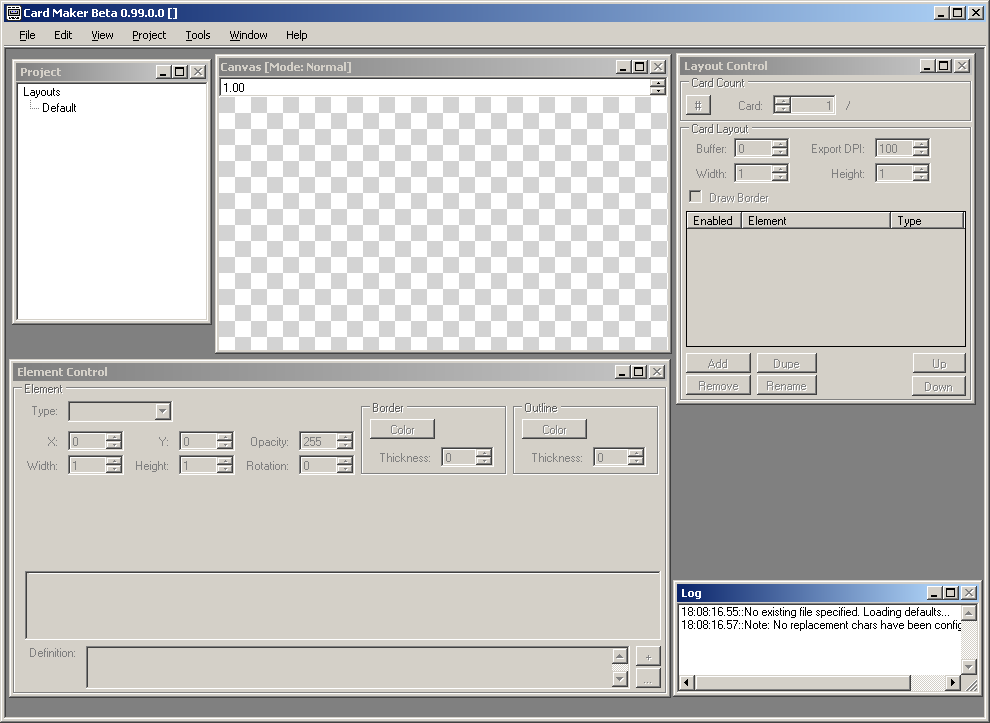
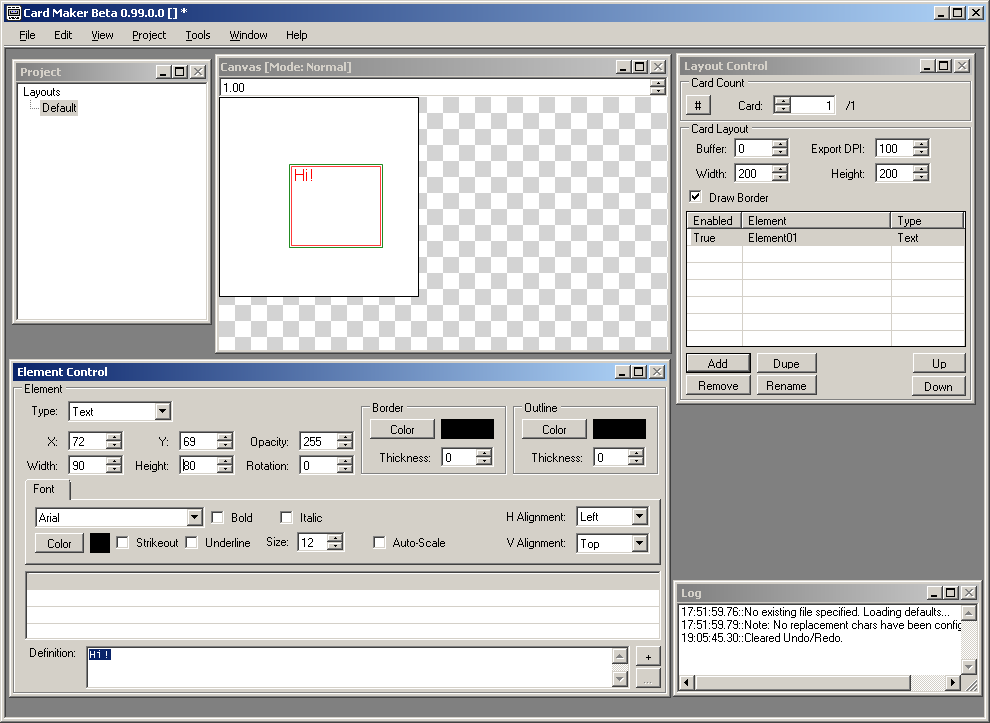
- Launch the Application (CardMaker.exe) -- It should look something like this when started:
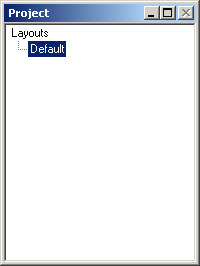
- Default Layout - Every new project contains the Default layout. Think of a Layout as the container for the various elements of a card.
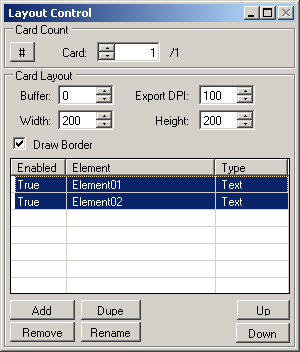
- Select the Default Layout in the Layout Control window on the left.
- Select the Default Layout in the Layout Control window on the left.
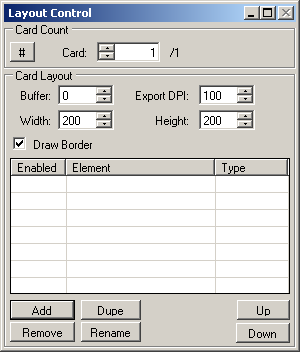
- Add an Element to Layout - Elements are the individual components of a card (text, images, otherwise).
- Click Add on the Layout Control window
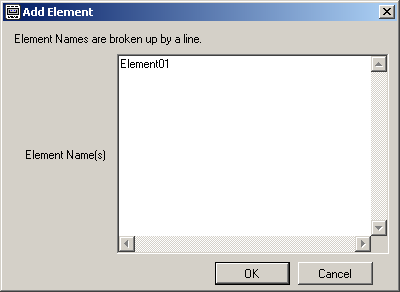
- Name the Element (I named mine "Element01")
- Click Add on the Layout Control window
- Change the Definition - Leave the type of the Element as Text.
- Set the Definition value of the element. If you somehow unselected the Element just click it once again the Layout Control window.

- You should see the text you entered into the Definition field appear within the Canvas window.
- Set the Definition value of the element. If you somehow unselected the Element just click it once again the Layout Control window.
- Move Element
- Left-Click and hold in the Canvas view inside the red and green square to drag the Element.

- Left-Click and hold in the Canvas view inside the red and green square to drag the Element.
- Element Control
- Change with X/Y/Width/Height -- You can adjust the Element attributes in the Element Control window for fine tuning.
- Change with X/Y/Width/Height -- You can adjust the Element attributes in the Element Control window for fine tuning.
- Add a second Element
- Add a second Element in the same manner you added the first. Be sure to give it a unique name.
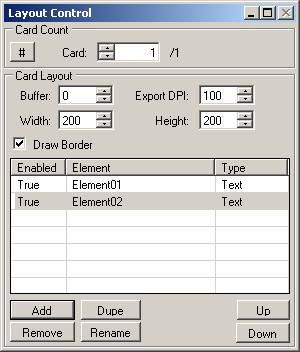
- Add a second Element in the same manner you added the first. Be sure to give it a unique name.
- Select between Elements
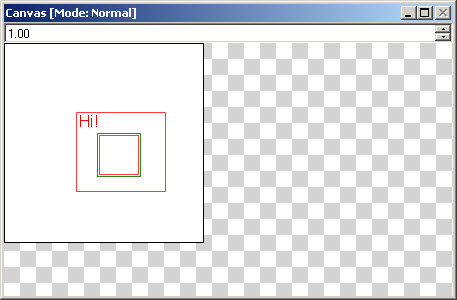
- You can click the Element in the Layout Control window that you want to select. In the Canvas window the border of the selected Element will be green.
- Toggle the Enabled state of an Element - Double click on an Element in the Layout Control window to toggle its drawing.

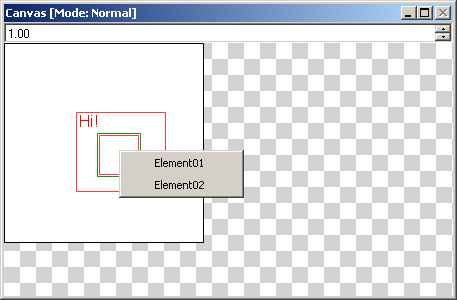
- Overlap Elements - In complex layouts it is very likely that Elements will overlap partially or completely.
- Move the Elements on the canvas so they overlap.
- Selection within the Canvas - Right click on the Canvas in a location where the Elements overlap. This will allow you to select an Element in the Canvas window. Right-Click also selects single elements as well as helping to select those that overlap.
- Move the Elements on the canvas so they overlap.
- Multi-Select Elements - Manipulate multiple Elements at the same time
- As with most windows programs you can select multiple Elements by holding down the Control(item by item) or Shift(all items between the current clicked selection) key to select multiple items.
- As with most windows programs you can select multiple Elements by holding down the Control(item by item) or Shift(all items between the current clicked selection) key to select multiple items.
- Adjusting Multi-Selected Elements
- You can adjust the Elements together by manipulating the controls in the Element Control window. It is important to note that this will set both Elements given field to exactly the same value.
- You can also directly interact with the canvas moving the selected Elements together.
- Undo / Redo - This one is critical! Use Control+z(undo) and Control+y(redo) to correct any mistakes or step forward.
- I recommend you try changing just about everything in the Element Control window as well as the Layout Control window to understand what they actually do. Be sure to see the manual for details!